How to Clean a Kitchen
We all know that a clean kitchen is paramount to food safety – you wouldn’t want to eat at a restaurant with a poor Food Hygiene Rating, so why do we settle for grimy worktops and a dirty fridge in our own domestic kitchens at home? Whether you’re a home cook making meals for your family or a chef in a commercial kitchen, maintaining a clean kitchen is vital, and this article will provide you with tips and advice on how to do just that.
What are the Steps in Cleaning the Kitchen?
1. Gather your kitchen cleaning supplies
Before you can begin cleaning, you’ll first need to gather the kitchen cleaning supplies you need for the task at hand. Are you planning to clean with a spray, paste or liquid? Do you have an eco-friendly alternative to chemical cleaners? For example, cleaning with a simple mix of water and vinegar can be much more effective, and healthier for you, than using off-the-shelf chemical sprays.
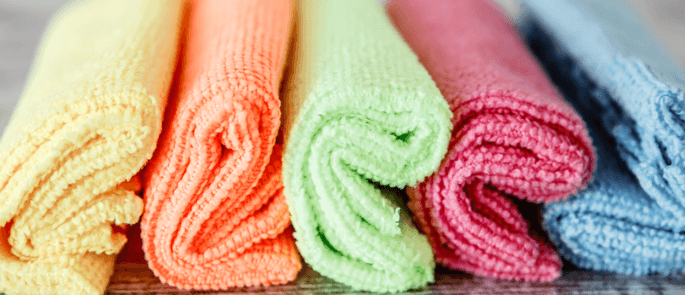
Do you have the sponges, cloths or dusters needed? If you’re using reusable cloths, like microfibre dusters and sponges, then ensure these are always run through a hot wash before use to kill any harmful bacteria on them. If cloths and sponges are left damp, then bacteria will quickly multiply and, when used, you’ll be spreading potentially harmful germs all over your kitchen worktops.
Bear in mind the safety of any chemicals you use, too. Eco alternatives like water, vinegar and bicarbonate of soda are better for you and the environment and are far less hazardous to health than traditional cleaning products. If you do use cleaning products, like disinfectants, bleaches or polishes, then always read the labels to ensure you’re using and storing them correctly and never mix them together, as this can have disastrous results.
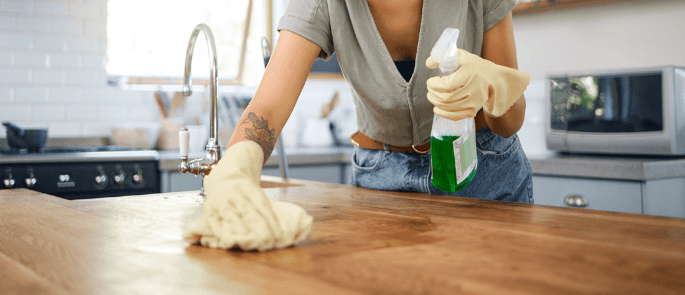
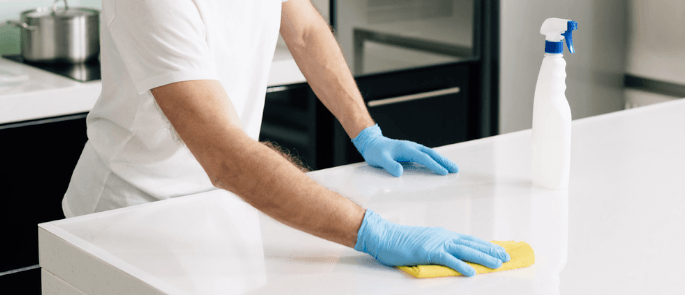
2. Clean your kitchen surfaces
Once you’ve got your cleaning supplies to hand, the first job is to clean down your kitchen surfaces. It’s a good idea to clean your kitchen from top to bottom, i.e. starting with the worktops rather than the floor so that any residual dirt or crumbs don’t get scattered onto your newly cleaned areas.
Did you know that there are actually six stages of cleaning to ensure thorough cleaning of kitchen surfaces? It might sound excessive, but if you follow each of these steps, then you’re sure of a clean and hygienic cooking space. In short, following the six stages will ensure you remove any bits, get rid of grease and grime, rinse off the mess, disinfect the surface and give everything a good dry.
It’s also a good idea to clear your counters completely before cleaning, so you can thoroughly wipe underneath and behind any appliances or decorations you have out. You could clear surfaces one at a time as you move around the room to avoid having a big pile-up of items on the floor.
3. Clean out and store food correctly in your fridge
Do you check inside your fridge when cleaning your kitchen? If not, then you should! Firstly, fridge doors and handles always need a wipe-down to remove any lingering bacteria from grubby hands, as these areas are high-traffic and often touched by lots of different people.
Next, take everything out of your fridge and give all the shelves a good clean and dry. You might need to take the shelves out and clean them in the sink if they’re particularly dirty from spilt food! Once dry, check the dates on everything you’re putting back in the fridge, discarding anything that’s past its use-by date and moving those over or close to the best-before date to the front of the fridge, so that they’re used up first and any food waste is avoided.
Furthermore, do you know exactly where to store food in your fridge for maximum effectiveness? Did you know that different shelves have different temperatures and different purposes? Our article here tells you all you need to know about correct fridge storage.

4. Clean small kitchen appliances
Whilst cleaning the fridge, turn your attention to any other small appliances you have out on your kitchen worktops – when did they last get a clean? Things like microwaves, toasters, air-fryers and food mixers tend to gather dust and grease when left out waiting to be used, so switch off and unplug each one and then give them a wipe down with a damp microfibre cloth to collect all the dirt. Then, dry each appliance with a clean, dry cloth or kitchen towel.
Always remember electrical safety when cleaning small appliances, too, and never submerge them in water or use a soaked cloth to clean them, especially if you haven’t unplugged the appliance first. Make sure the appliance is completely dry before plugging it back in for use.

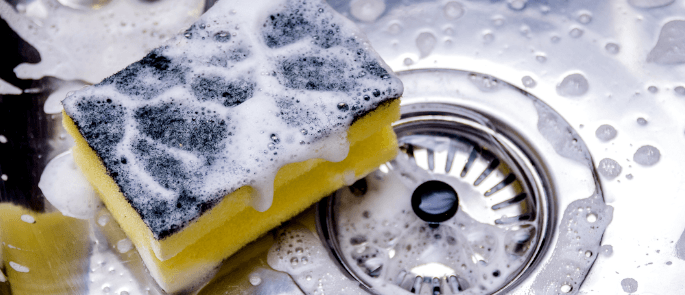
5. Clean the kitchen sink
The kitchen sink is often claimed to be one of the germiest places in your home. You use it to wash your hands, clean your dirty dishes, rinse muddy vegetables, pour away liquids and clean utensils after handling raw meat. If it’s not regularly sanitised, the kitchen sink can quickly harbour harmful bacteria, such as E.coli and salmonella, all of which can cause food poisoning.
To clean your kitchen sink effectively, no harsh cleaning chemicals are needed. Simply put the plug in and use hot, soapy water and a soft sponge to scrub around the sides and bottom of the sink, then drain away the dirty water, rinse with clean water and dry with a soft cloth. Avoid using abrasive sponges to scrub the sink, as these can scratch stainless steel or ceramic surfaces.
To prevent nasty smells and unclog a blocked plughole, sprinkle some bicarbonate of soda down the plug and then pour in a cup full of vinegar. Leave for a minute or two and then rinse with clean water. The chemical reaction that occurs between the vinegar and the bicarbonate of soda makes the bicarb fizz up and will clear any grime away. Give it a try!
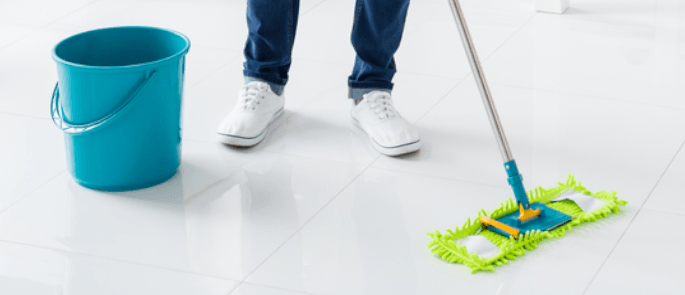
6. Clean the kitchen floor
Once your surfaces, appliances and sink are sparkling clean, next you can turn your attention to the kitchen floor. Your home kitchen is likely to be a high-traffic area for members of your family, plus any pets, so it gets dirty fast.
To clean the kitchen floor, first sweep away any loose dirt with a dry brush and then vacuum any remaining dust and crumbs. Then, apply your cleaning solution with a wet mop – you might want to go over the floor several times, using a clean mophead each time if it’s particularly grimy. The most effective cleaning product for the kitchen floor is often just hot water or water mixed with a bit of vinegar. Leave the floor to air dry and remember to tell people you’ve just cleaned it to avoid slips and falls!
More Tops Tips for Cleaning a Kitchen
How many of the following kitchen cleaning tips do you already follow?
- Washing your hands is obviously incredibly important when preparing food in the kitchen, but do you know how to wash your hands properly? To maintain good food hygiene, always wash your hands before preparing food, after handling raw meat and after using cleaning chemicals to prevent cross-contamination.
- Avoid bad habits like wiping dirty hands on a tea towel instead of proper handwashing, as this increases the risk of spreading disease. Remember to wash your hand towels and tea towels on a hot wash regularly, too, as leaving them damp can cause bacteria to grow.
- Ensure that you clean any spills or messes as they happen – this is known as ‘clean-as-you-go’ and it helps to prevent the build-up of dirt and harmful bacteria. It also makes cleaning your kitchen at the end of the day much easier.
- Pay attention to high-touch surfaces, like handles and light switches, as these will need cleaning much more frequently, and they often get missed when cleaning your home kitchen.
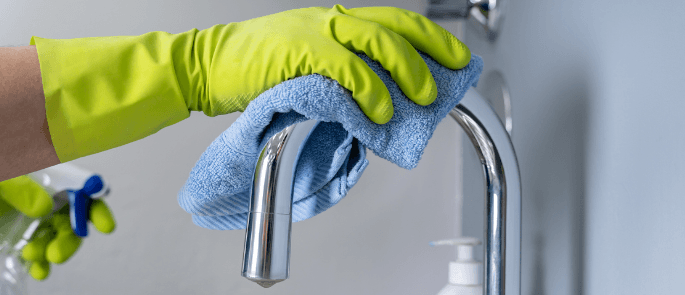
- Don’t forget to clean your kitchen tap! This is another high-touch surface that often gets overlooked. Use a damp cloth and wipe down all parts of the tap, especially the handles. Use an old toothbrush to get into the nooks and crannies where mould often grows if you need to!
- Remember to maintain large appliances as well as the small ones – when was the last time you defrosted your freezer or ran a disinfecting cycle on your dishwasher? It’s advisable to do this at least once a year.
Further Resources
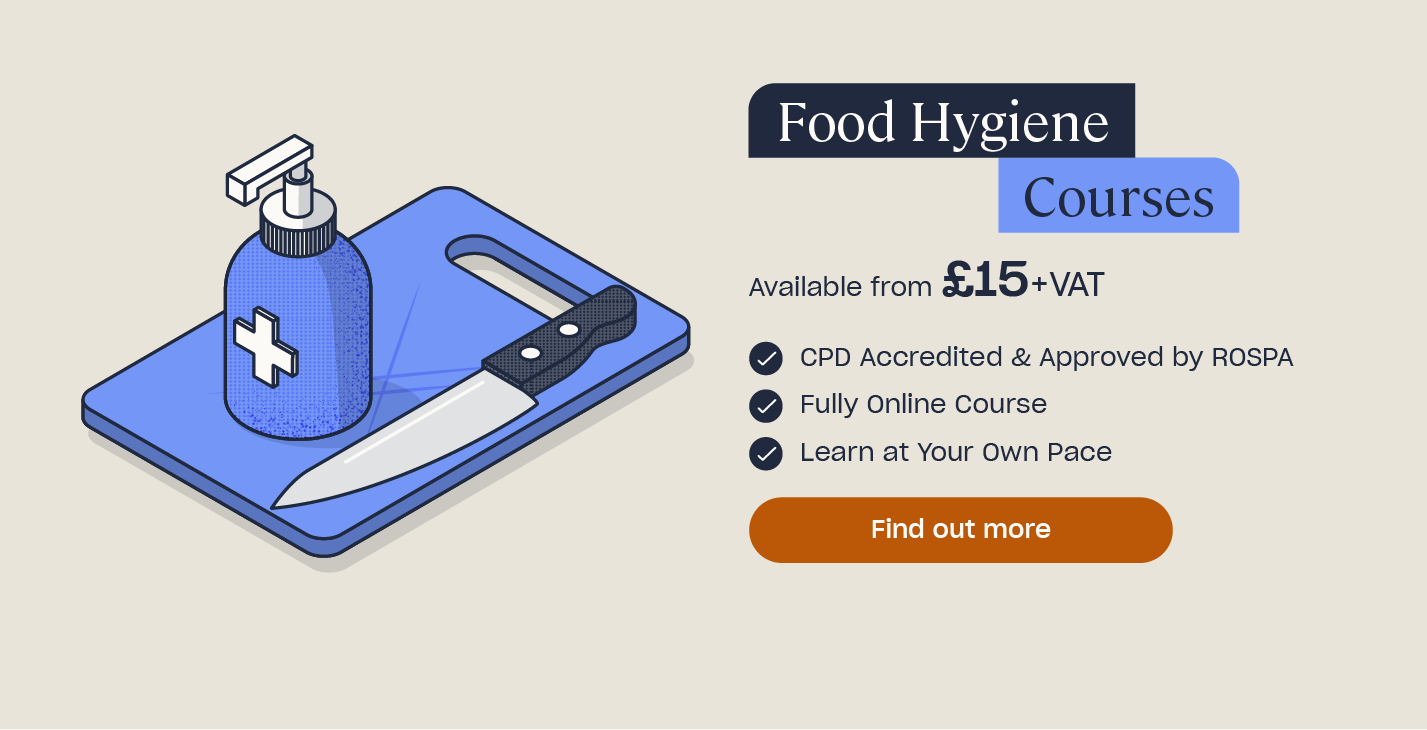
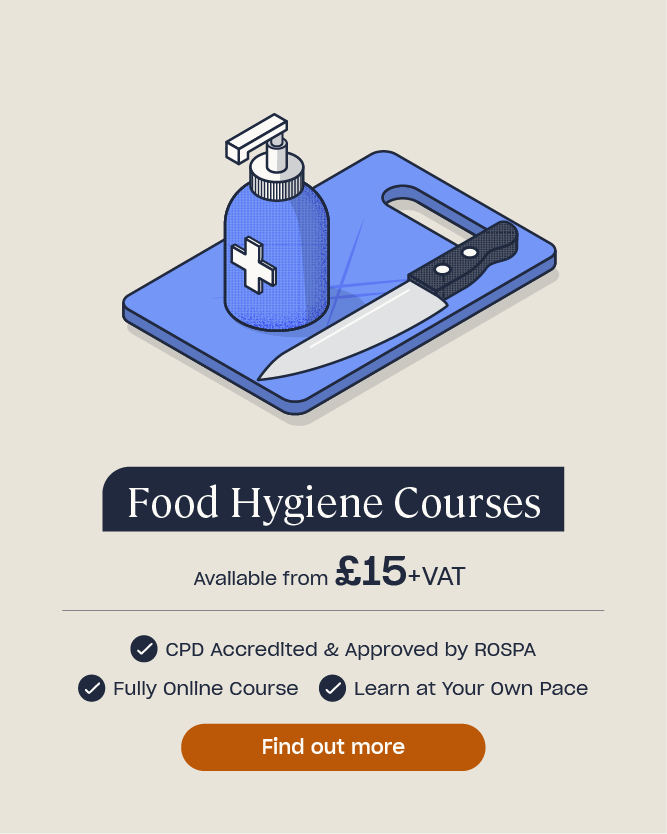
- Food Hygiene Courses
- What is a “Clean As You Go” Policy?
- Do You Know Which Fridge Shelves You Should Store Your Food On?
- Level 2 Food Hygiene Quiz
- A Short Guide to Ventilation in Commercial Kitchens
- What are High Touch Surfaces and How Should You Clean Them?
- How to Clean an Air Fryer
- How to Clean an Oven
- How to Clean a Blender
- How to Clean a Fridge
- How to Load a Dishwasher


Post Author