Shellfish Safety Guide: How to Source, Store, and Cook Them Safely
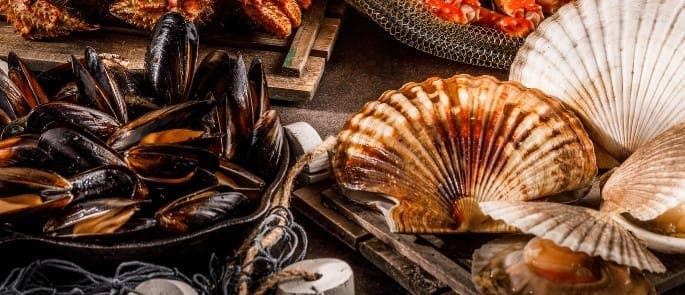
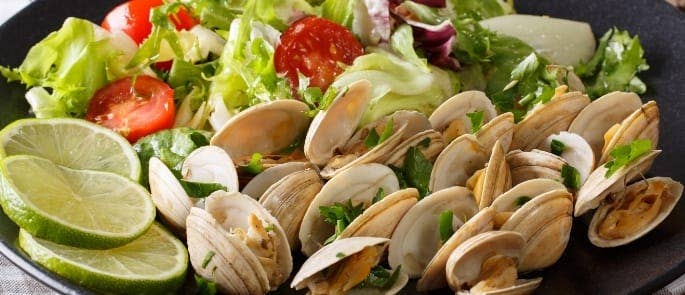
If you plan to sell mussels, oysters, and clams, you should be aware that customers expect the freshest, highest quality shellfish. Therefore, you must have top notch suppliers, storage facilities, and preparation methods.
Looking to learn more?
If you manage a team, and are responsible for the safety practices in your kitchen, our Level 3 Food Hygiene course is designed to ensure you gain a detailed, comprehensive understanding of your essential day-to-day responsibilities, including how to implement the basics of a HACCP food safety management system.
Unlike meat, shellfish are live when you purchase them. They are highly susceptible to bacterial contamination once they die, meaning that they must be kept cold and alive until you cook or serve them. If your food business follows shellfish safety practices, you can confidently add shellfish dishes to your menu.
This article contains the following sections:
- How to Source Your Shellfish
- How to Store Mussels
- How to Store Oysters
- How to Store Clams
- How to Cook Mussels
- How to Cook Clams
- How to Cook Oysters
Use the links above to navigate to a certain section of the article.
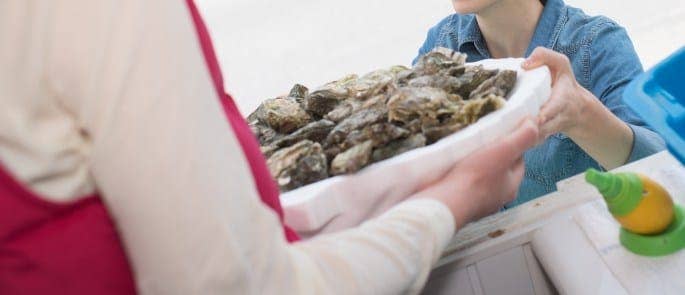
How to Source Your Shellfish
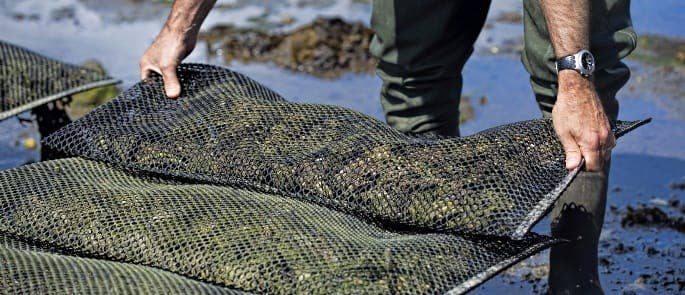
To purchase shellfish that are healthy and free of contamination, you need to find a reputable supplier. They should be able to prove that they harvest shellfish from classified shellfish beds and purify them at the source – or that their supplier does.
They must also give you information about traceability. With it, you can buy shellfish with confidence and identify the source if a customer reports food poisoning or if a recall occurs. It’s important that you know where to report a bad batch of shellfish, so authorities can close the original harvesting bed if it’s contaminated.
Follow these guidelines when sourcing shellfish:
- Check that packages of live oysters have a health mark label. A health mark must display the identification number of the source, the batch number, and a statement that reads ‘these animals must be alive when sold’. By law, you must keep the health mark for a minimum of 60 days.
- Choose shiny, damp shellfish that have an undamaged shell. Healthy shellfish smell like the sea, not ‘fishy’, and remain tightly closed (or snap shut) if you touch them. Otherwise, they’re likely dead and you should not buy them.
- Your supplier should use a clean stand or vehicle to provide shellfish. If they keep shellfish in dirty or warm conditions, or fail to prevent cross-contamination (e.g. they mix raw fish with shellfish), don’t risk it.
Visit your local fishmonger to see if they sell high quality shellfish and if ask you can make them your regular supplier. By purchasing and preparing shellfish in the same day, you will maximise freshness and satisfy your diners.
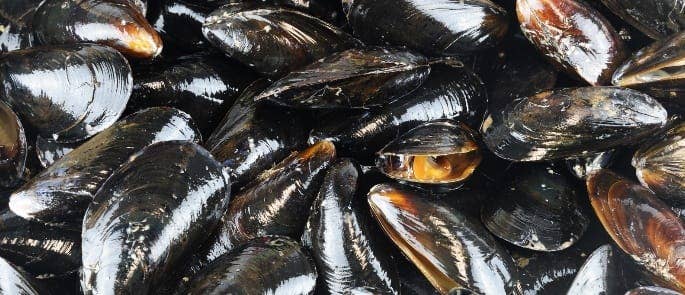
How to Store Mussels
You want mussels to stay alive and fresh before food preparation, which requires you to keep them cold and wet and allow them to breathe.
To store mussels, you should:
- Remove them from the bag and store them loose (or in a mesh bag) in a bowl so they can breathe.
- Cover them with a damp cloth or towel.
- Keep them in the fridge between 1°C and 4°C.
- Don’t store mussels in water or a sealed container – they will die.
- You can store them in ice in the fridge, but you must have a way for the melted ice to drain so the mussels don’t submerge.
- Discard any mussels that are partially open and don’t close when tapped.
- Throw away any that smell ‘fishy’ or off.
Need a Course?
Our Food Hygiene Courses are designed to ensure a comprehensive knowledge of all food safety and hygiene procedures.
If you store mussels correctly, they can last for up to 2-3 days. However, to get the best taste and texture, you should aim to use them on the day of purchase. Plus, listing items on the menu as bought and used on the same day is a great selling point.
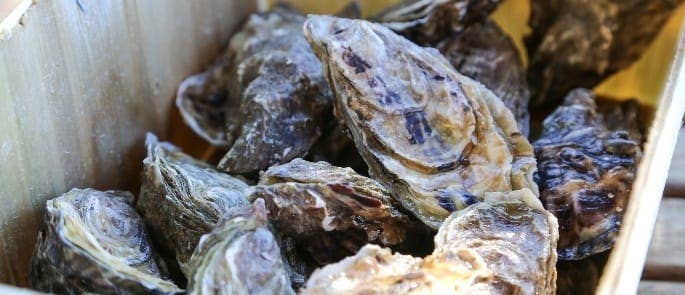
How to Store Oysters
Oysters also need to remain alive and cold before food preparation. For best results, store them without shucking (opening the shells). However, if preferred, you can store them shucked – just make sure they stay upright and away from other foods.
To store oysters, you should:
- Place them in a wide bowl or tray with the curved shell at the bottom. Make sure they aren’t on top of each other.
- Cover them in a damp towel or cloth.
- Don’t submerge oysters in water or store them in a bag or sealed container – they won’t be able to breathe.
- Put them in the fridge. The temperature should be between 1°C and 4°C.
- Healthy oysters should stay or snap shut when you touch them and should feel weighty.
- Discard any that smell off or have loose or broken shells. A damaged shell allows the liquid that keeps them fresh to drain.
You can store oysters slightly longer than mussels, but still aim to use them within 24 hours to preserve their freshness and flavour. Seafood enthusiasts can tell if your shellfish are fresh and will decide whether to return based on the quality.
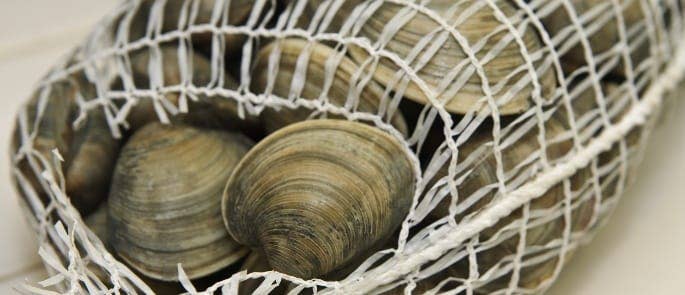
How to Store Clams
Clams are highly perishable, so you must take extra care. Like oysters, clams should feel plump and heavy and be free of odour when purchased. They should also remain closed when you touch them.
To store clams, you should:
- Store them in a porous bag, such as burlap, or in a large bowl.
- If you have a lot of clams, try not to layer them too much; doing so can suffocate the clams at the bottom.
- Cover the clams with a damp cloth.
- Put them in the fridge, which should be between 1°C and 4°C.
- Do not submerge them in water or put them on ice.
- Discard any that smell off or have loose or broken shells.
How to Cook Mussels
Mussel shells should be shiny and dark blue, black, or green. Traditionally, you’d need to clean out sand from mussels, but nowadays shellfish farmers flush them at the source or raise them in an environment that prevents impurities.
You should follow these tips when cooking mussels:
- Rinse the shell with cold water to remove dirt, seaweed, and debris.
- Remove the ‘beard’ if present. Many farm-raised mussels are already de-bearded, but there may be a couple of strands left behind. Pull it downwards towards the hinge of the mussel shell until it detaches, then discard.
- To fry mussels: cook them in a pan until the shells pop open and a fragrant liquid fills the pan.
- To steam mussels: add an inch of liquid (water, wine, etc.) to a pot, bring to boil, and drop the mussels gently into the liquid. Cover the pot with a lid and let the mussels cook for 5-7 minutes until they pop open (although the time varies depending on the quantity of mussels and liquid).

You might have been told in the past to throw away shellfish that fail to open when cooked. Although most should open wide, don’t worry if one or two are stubborn; it’s an old wives’ tale that they’re unsafe to eat. As long as the mussels were closed before cooking, then they were alive and fresh and should be safe to eat.
How to Cook Clams
The most common way to cook clams is steaming. Make sure the clams have no broken shells and are still alive before you start to cook them.
- Rinse the shell with cold water to remove dirt, seaweed, and debris.
- To steam clams: add an inch of liquid to a pot (like water or wine), bring to boil, and gently add the clams. They should take around 5-10 minutes to pop open and be ready to eat.
How to Cook Oysters
Guests usually order oysters to eat raw, but you can cook them in a dish if you choose. To serve raw, you need to open the shells (known as shucking).
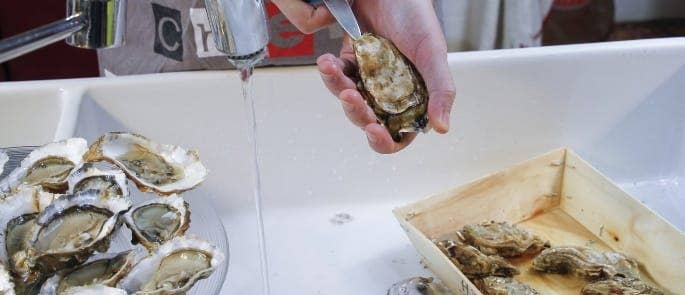
To shuck an oyster, you should:
- Rinse the shell with cold water to remove dirt, seaweed, and debris.
- Wash your hands or wear gloves.
- Hold the oyster with the flat side facing up.
- Use a knife to pry open the shell – insert the blade between the shells near the hinge and twist.
- Keep the oyster as flat as possible while prying to keep the oyster liquid in the cupped shell.
- Use a clean shucking knife for each batch.
Cut under the oyster meat to detach it from the shell and make it easier for diners to eat. Serve them immediately or as soon as possible, but if they don’t go out the door right away, keep them on a tray of ice.
How to cook oysters:
- You can cook oysters numerous ways without even needing to shuck them. You can steam, microwave, grill, or roast them.
- To steam oysters: add an inch of liquid (water, wine, etc.) and drop in the oysters. Bring the liquid to boil and place a lid on top. The oysters should cook for 5-10 minutes before they open.
- To bake oysters: place the oysters individually on a baking tray with the round side down. Set the oven to around 250°C and cook for 20-35 minutes until the shells open (although the time varies depending on the size and quantity of oysters).
- To microwave oysters: place the oysters on a microwavable dish, with the cupped side at the bottom. Cook on the highest setting for around 2 minutes until they pop open.
- To grill oysters: set the oysters cup side down on the grate and then cover the grill. It should take about 5-10 minutes for the oysters to open.
After cooking, you can add whatever seasoning you choose, but be sure to serve them immediately.
When preparing shellfish for commercial sale, you should always keep in mind that molluscs (including clams, mussels, and oysters) are one of the 14 named allergens. Therefore, you must prevent cross-contamination when handling them. Keep shellfish separate from other foods and wash your hands thoroughly after touching them.
Furthermore, when handling any type of shellfish, be gentle. They’re living creatures, and you want to keep them that way for as long as possible. Good shellfish safety ensures you serve your diners seafood dishes that are free of contamination and are the freshest around.
What to Read Next:
- What’s the Best Way to Store Vegetables?
- What’s the Difference Between Use By & Best Before Dates?
- What are High-Risk Foods and How Can I Use Them Safely?
- Food Hygiene Training


Post Author

You may also like